- By Worms4Earth
- May 28, 2025
- Worm Ecology
Whoever coined the term “earthworm” truly captured the essence of these incredible creatures. Earthworms quite literally build the earth beneath our feet. Through continuous burrowing and digestion of organic matter, they aerate the soil, improve water retention, counteract mineral depletion, break up hardpans, and create fertile channels that promote robust root growth. Most importantly, they release essential plant nutrients in forms that plants can easily absorb.
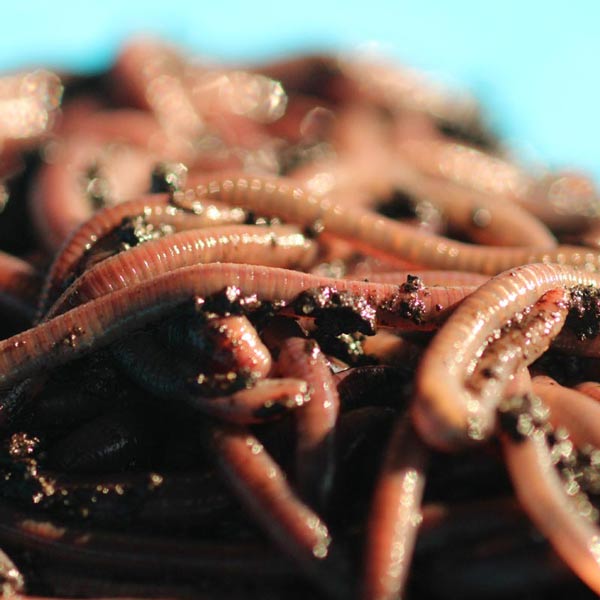
Earthworm Populations in the Wild
Earthworms—commonly referred to simply as worms—thrive in a variety of soils, from rich, loamy earth to dense clays and sandy environments, provided adequate moisture is available. However, not all worm species adapt equally to every soil type. Some are highly specialized, while others are more adaptable.
The key factor influencing wild worm populations is the amount of organic matter in the soil. Soils rich in compost support thriving worm colonies, while poor soils with minimal organic content host fewer worms. Though worms can extract some nutrients even from depleted soils, the availability of organic matter remains the primary driver of population growth.
Worms and Plant Root Development
While plants don’t require worms—or even soil—to grow (as seen in hydroponic farming), thriving in natural conditions depends on three main factors: moisture, nutrient availability, and adequate aeration. Worms play a crucial role in creating ideal conditions for plant root development.
Homegrown food often tastes better, and a major reason is the living, healthy soil in which it’s grown. Natural soils contain varying proportions of organic matter, minerals, clay, sand, and small rock particles. In many cases, however, these soils are either too compact or lacking in key nutrients. That’s where worms come in. By tilling and loosening subsoil, transporting mineral particles, and producing nutrient-rich castings, worms help plants access essential elements needed for strong growth.
Soil Aeration and Root Penetration
Plant roots do not grow through solid soil particles—they grow in the tiny air spaces between them. In compacted or heavy soils, roots struggle to push through. Worms solve this problem by creating intricate tunnel systems that serve as natural aeration pathways. These air pockets are not only vital for root expansion but also support beneficial microorganisms and enable the oxidation of minerals, making nutrients more accessible to plants.
As worms dig, they build an underground network that helps rainwater infiltrate evenly and deeply. Even after the water is absorbed, these tunnels remain, continuing to support plant growth and root development.
Water Absorption and Soil Stability
In compacted soils such as heavy clay or dense silt, rainwater often pools on the surface, runs off, or evaporates before it can penetrate. Worms naturally break up this compactness, allowing water to enter the soil.
USDA researcher Henry Hopp conducted experiments showing that soils with worms had a water absorption rate 350% higher than worm-free soils. This means healthier soil and reduced risk of drought stress.
Additionally, worm castings (worm manure) improve soil water stability—the ability of soil to hold moisture and resist compaction. Mechanically tilled soil may temporarily retain water better, but it quickly reverts to its compacted state. In contrast, soils amended with worm castings stay looser longer, maintaining better hydration and promoting healthy root growth.
Worm castings also serve dual purposes:
Loosening compacted soils like clay.
Binding sandy soils that drain too quickly.
Building Soil Structure
Healthy soil contains aggregates—clumps of sand, silt, and clay that bond together. These aggregates are crucial for soil that resists compaction, allows water infiltration, and stays aerated. Earthworms significantly contribute to the formation of these aggregates.
In just three days after introducing worms to a test garden, the percentage of large aggregates more than doubled, increasing from 5.9% to 12%. While the exact mechanisms are still being studied, one thing is clear: worms vastly enhance soil structure.
Nutrient Cycling: Worms Make Minerals Available
One of the most essential functions of worms is their ability to unlock and release plant-available nutrients. While many soils contain minerals, they’re often in forms that plants cannot absorb. As worms consume soil and organic matter, enzymes in their digestive tract chemically transform these minerals into water-soluble nutrients, which are easily taken up by plant roots.
In effect, worms turn lifeless, nutrient-poor soils into fertile, living ecosystems—perfect for gardening, farming, and supporting natural vegetation.
Conclusion
Earthworms are nature’s original soil engineers. From aerating compact soil to improving water retention and unlocking essential plant nutrients, worms play a foundational role in building and maintaining healthy soil ecosystems. Whether you’re gardening at home or managing a larger piece of land, fostering a thriving worm population is one of the most effective ways to enrich your soil naturally.