
Where Should I Place My Worm Habitat?
<<< Previous: What Type Of Habitat Should I Use?
You have two primary locations to consider when setting up a habitat for your worms: 1) Inside a building, such as your home, barn, or shed, or 2) Outside, preferably in a shady spot such as under a tree or the north side of a building. Each location has its pros and cons; placing a worm bin inside your home will give you optimal temperature control but can be cumbersome to move when it is full of bedding and worm castings. Worm beds that are located outside can be more easily expanded to accommodate population growth but may not be feasible to maintain if you live in an area with a harsh winter climate.
Worms and Cold Temperatures
 Before we move forward and determine the location to keep your worm habitat it is imperative that you understand the temperature requirements for our wiggly friends.
Worms are cold blooded creatures – they do not have the ability to self-generate or self-regulate their own body heat. Although they can thrive in moderately cool temperatures, the colder the temperature drops, the more slowly their metabolism will function. As the bedding temperature continues to drop lower and lower, worms will suffer from hypothermia and eventually death. Keep this in mind when planning the location of your worm habitat. For example, African Nightcrawlers, a tropical species, will begin to perish when exposed to temperatures below 50 degrees. If your geographic location experiences frigid weather during the winter, keeping your habitat outside all year-round will surely kill them.
You may be asking yourself, "if worms will die from cold weather, how is it possible that I can dig up live worms in the spring following a winter freeze?” The answer can be found by examining the worm’s strategy for reproduction as well as survival tactics during the winter season.
The worm’s egg capsule is quite resilient and can survive cold that would normally kill an adult worm. Worms constantly create egg capsules throughout the warm season until it becomes too cold to continue producing them. The adult worms will then begin to burrow more deeply into the soil, leaving their egg capsules to survive the winter in the upper soil horizon. The worm will burrow to take advantage of the soil’s thermal properties – the earth absorbs radiant heat from the sun and stores it! Our wiggly friends can survive the winter by living deeper in the soil in depths not so affected by the ambient cold air temperatures found in the first 4-5 inches of soil. However, not all adult worms will escape the cold and many will perish. The dormant egg capsules will then hatch in the spring, releasing a new generation of worms to re-populate the soil.
Keep this information in mind when planning a location for your worm habitat. You should strive to maintain a healthy and dense population – the more worms there are in your beds, bins or buckets the faster they will compost your kitchen scraps, produce worm castings, and produce offspring. Experiencing a winter die-off will set you back and slow down the achievement of your goal.
Raising Worms Indoors
Raising worms inside your home may sound kind of whacky to most first time worm growers. The idea of having a container filled with thousands of Red Wigglers or African Nightcrawlers living inside your house probably sounds a bit counterintuitive since their natural habitat occurs outdoors in the wild. However, understanding the benefits of indoor worm farming can give you the insight that will guide you to success.Advantages of the Indoor Habitat
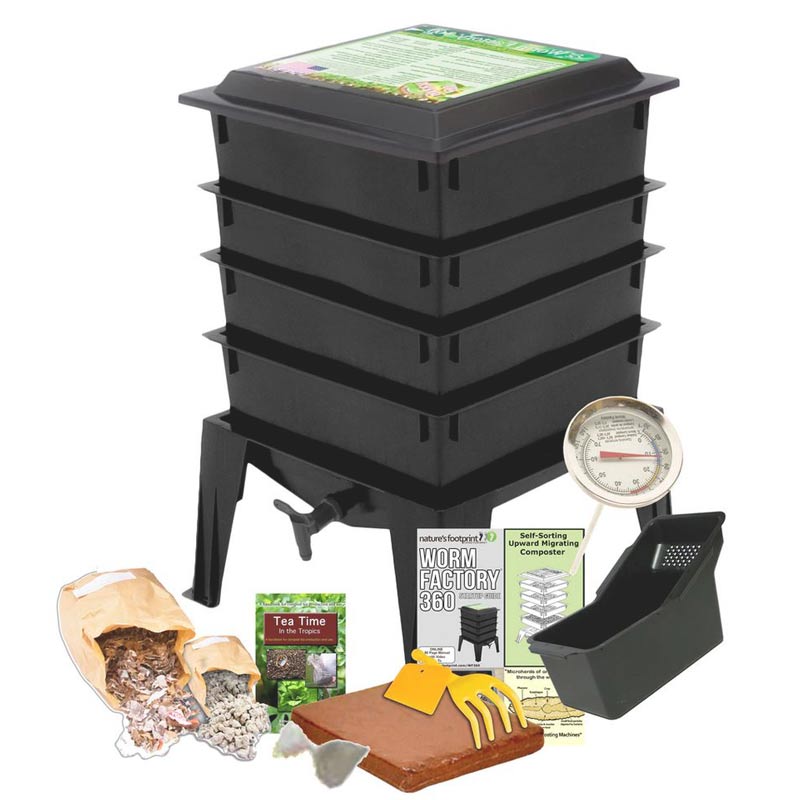
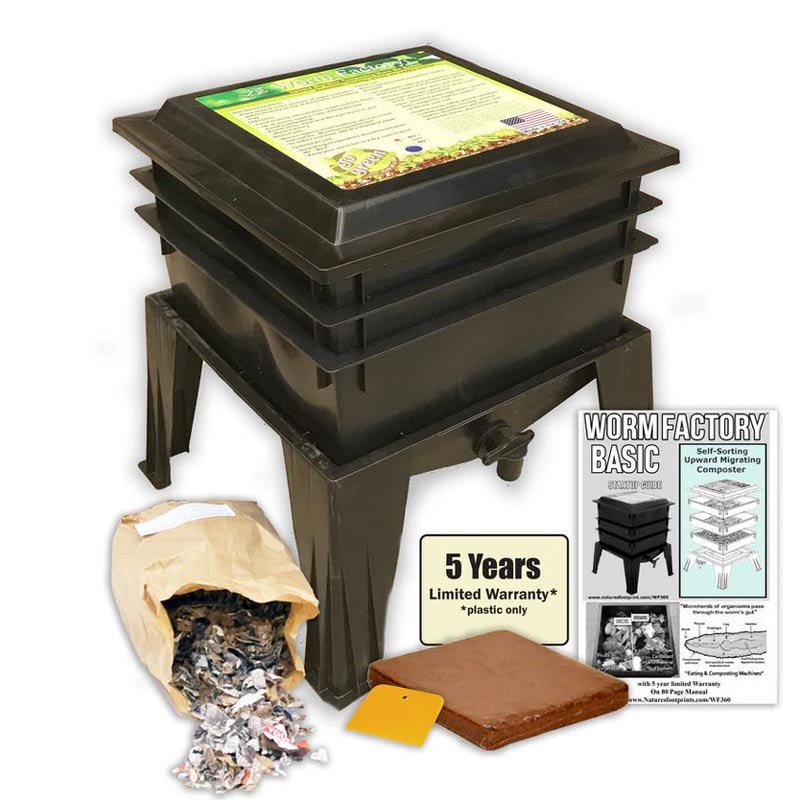
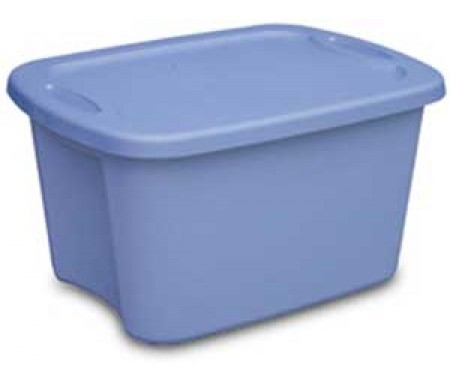
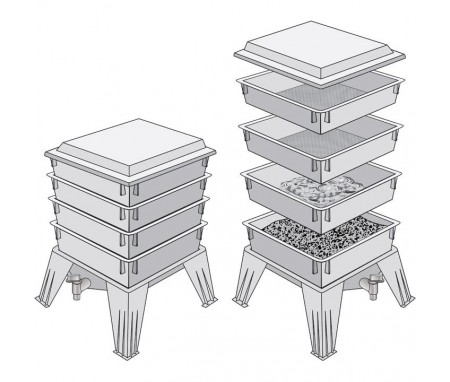
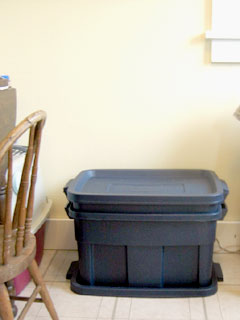 For the majority of indoor worm growers, the do-it-yourself plastic storage container or manufactured worm bin will be your habitat of choice. These types of containers have a relatively small footprint and will fit just about anywhere in your home. You can place them in a basement, garage, utility room, spare bedroom or just about any other nook you can think of. Those of you who have a basement and would like maintain a larger habitat can build one using cement blocks or wood. Just ensure you have access to drainage.
The greatest advantage in raising worms indoors is the environmental control you will have. Worms thrive in an optimal temperature range of 65°F to 85°F, which is almost certainly going to be found in the modern day home. The cold winter months can be devastating when raising worms outside due to the fact that worms, because they are cold blooded, will die when the mercury drops below a certain point. Living indoors with their human companions prevents any untimely deaths caused by hypothermia or freezing. A stable bedding temperature creates an environment that optimizes worm activity. Your worms will eat and breed like clockwork, producing more worm castings and egg capsules than a worm bed exposed to seasonal temperature fluctuations.
Depending on where you live, humidity conditions can be dry, wet, or somewhere in between. Another benefit of a temperature controlled indoor environment is the stable humidity level it provides. This is significant because it improves your ability to maintain the proper moisture levels required for your worm bedding. For example, if your worm habitat is located outside in an arid climate you will need to constantly monitor and water your worm beds due to the higher rate of evaporation that will occur. An indoor worm bin’s moisture levels rarely fluctuate; once you have added pre-moistened bedding you will rarely, if ever, need to add more moisture. Your climate controlled environment removes a lot of the extra work you would need to do in order to maintain proper moisture levels.
Need-to-Knows About the Indoor Habitat
We live in an incredibly diverse world of animal life – the majority of which are organisms that are too small to see with our human eyes! These tiny organisms are known as microscopic bacteria, fungi, algae, as well minuscule insects and invertebrates. Your worm bin will always contain some of these tiny life forms – it is the natural way of things! Soon after adding kitchen scraps, your worm bin will soon become its own ecosystem. As your kitchen scraps begin to decompose, fungi and bacteria colonies begin to grow and multiply. The presence of fungi and bacteria is absolutely crucial as a catalyst for decomposition; food would not decompose if it weren’t for these beneficial organisms helping to break down the fibers that bind it together. The worm’s nutritional needs will also benefit from eating the microorganisms found in your worm bin. These include nematodes, protozoans, rotifers, bacteria, and fungi.A valid concern you may have is that your bin will attract unwanted pests. I have kept worm bins in my home for years (with my spouse’s blessing of course!) and have never once attracted pests such as a cockroach, rodent, or ants. A healthy worm bin will never reek of foul odor; therefore it will not attract unwanted visitors. However, the presence of tiny mites and gnats may occur. The good news is that both are easily managed when you know how. You must also keep in mind that you will need to regularly change or add fresh bedding. The frequency will depend on what you are feeding them and the size of the worm population. If you have limited mobility or not confident with your upper body strength, you should consider plans to make it easy for you to transfer the bin outside in order to separate the worms from the bedding and harvest the worm castings.
You may decide to use your garage or a shed to raise them. This is a good space to keep them in the fall, winter, and spring. However, the hot summer months may prove deadly to your worms if you do not have a cooling system for these spaces.
Raising Worms Outdoors
Raising worms outside is typically the initial choice amongst first time worm growers. It is definitely a logical option – the worm’s natural environment does not include air conditioning!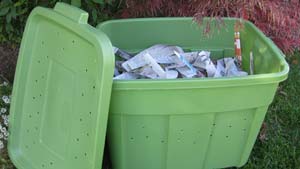 You may have already decided that raising worms inside your home is not for you; maybe your family does not share your enthusiasm for the little critters or you just don’t have a good space to put them. Maybe your plan is to eventually expand and enlarge your beds to accommodate a large breeding population. Whatever your situation, keep in mind that there are certain circumstances that may prevent you from meeting your goals when raising worms exposed to the four seasons.
Advantages of the Outdoor Habitat
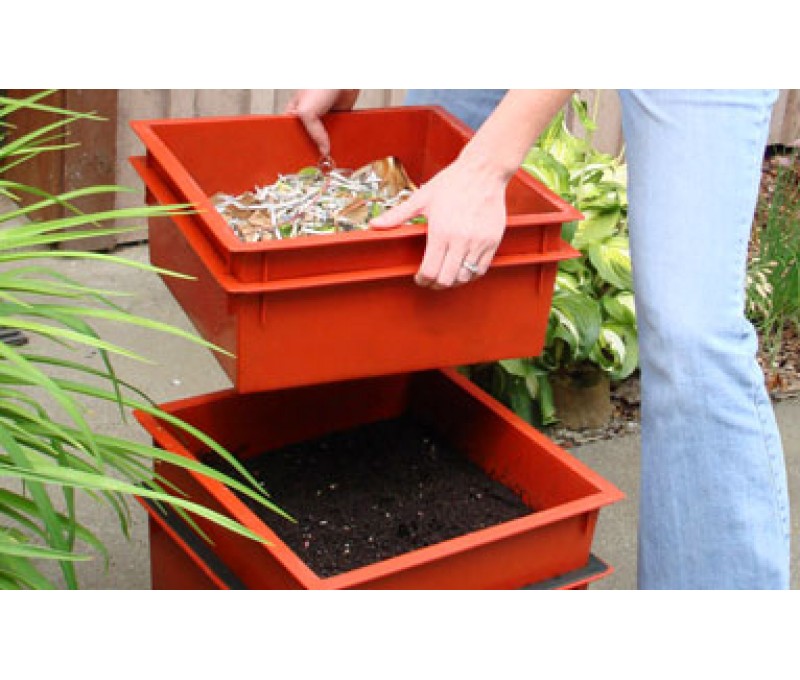
The response I often hear when I ask someone if they would consider raising worms inside their home is “my spouse would kill me." Not a surprising situation – not everyone is ready to embrace these little miracle workers. Thank goodness there is a second option from which to choose…raise them outside! The initial benefit from the outdoor option is that the potential for extra house cleaning is now eliminated. A worm habitat will eventually create some type of cleanup and setting up your bin outside prevents that from happening inside your home. Worms like to crawl up the sides and can literally crawl upside-down across the bottom of the lid. When removing the lid, some of the castings they leave behind will likely flake off and find their way on to the floor. Additionally, the potential for unwanted critters being attracted to your indoor worm bin is also eliminated.The outdoor habitat is also convenient when it comes to changing out the bedding and harvesting the castings. Sifting and separating worms from their bedding can be a messy operation. Setting up a harvesting station in your yard will not only save your floors from a good sweeping, your lawn will also benefit from any spillage of castings or worms that may occur.
If your goal is to generate a large amount of worm castings or a large population for fishing bait, you will be required to maintain a sizable breeding population. Unless you are a professional farmer that has made a significant investment in facilities, you probably do not have the indoor space to build a habitat large enough for your needs. Taking advantage of your outdoor space by using some of your property to build a large worm habitat will soon have you on your way to fulfilling your goal of sustaining a large worm population.
Need-to-Knows About the Outdoor Habitat
There are several environmental factors that you need to be aware of before planning your outdoor worm habitat. Your beds or bins may be exposed to sunlight, wind, rain, humidity and temperature fluctuations. All of these elements have a direct effect on the moisture and temperature of your bedding. For example, direct sunlight on a storage container habitat will rapidly heat the bedding to temperatures that can kill your worms. It’s like sitting inside of a car on a sunny day with the windows rolled up. However, a yard with a lot of trees will give you plenty of options for a shady spot if growing your worms in a portable habitat, such as a storage container or manufactured bin. You can even set them right next to your house (the north side of any building will give you the most shade throughout the day).Arid conditions may cause your bedding to quickly dry through evaporation. Wind can cause the top layer of bedding to dry out and blow your feed away, costing you both money in lost feed as well as slowed worm growth from loss of diet. The cold temperatures of winter will kill some of your population; your worm’s metabolism will also slow and reproduction will stop until the bedding warms in the spring. Without indoor environmental controls, raising your worms outdoors will require greater focus on monitoring the moisture levels and bedding temperature fluctuations in order to maintain a healthy and productive worm population.
Outdoor bins are going to attract local insects that also feed on decomposing organic material. Earwigs, pill bugs, roaches, and soldier fly larvae are all common inhabitants. The good news is that they are relatively harmless to your worm population in that they only compete for food. Most insects will not be directly harmful to your worms. However, there are some animals that will, in fact, decimate your worm population. If your habitat is a bed dug directly into your yard you may have to contend with a small mammal called a mole. If you decide to dig out a worm bed in your yard you will need to line the bed with material to create a barrier. There are also some species of centipede as well as a creature called the hammerhead worm that prey on worms. Fire ants are also destructive to your worms and can take over a worm bin very quickly if gone unnoticed. However, these animals do not live everywhere so doing a little research will go a long way in identifying worm predators.
Location Summary
There are benefits and drawbacks when raising worms in either indoor or outdoor worm habitats. Raising worms inside your home will provide you the ability to grow them in an environmentally controlled habitat, maximizing their potential growth, egg capsule and casting production. However, you may not like the prospect of the extra housework from loose bedding or the possibility of uninvited mites or gnats that may occupy your worm bin.The outside grower will enjoy the flexibility of raising worms and harvesting castings where they are free to make a mess. You will also benefit from having the ability to expand your worm growing operation. However, you must plan for environmental factors such as sunlight, humidity levels, and temperature fluctuations; heat generated from direct sunlight or the chill of winter could spell certain doom for your worms if you do not properly place their habitat. In addition, keep in mind that your worms are potential meals for different species of animals including include moles, centipedes, predatory worms, and fire ants.
Next: What is Worm Bedding?
Related Post
The Do-It-Yourself Worm Bin
Learn how to build our own worm habitat using common materials found around your home.
What Type Of Habitat Should I Use?
There are several things to be considered when building a worm habitat. Learn the different types of habitats here.
I Want To Raise Worms...Where Do I Start?
Do you want to raise worm but are unsure of where to begin? This article will point you in the right direction.