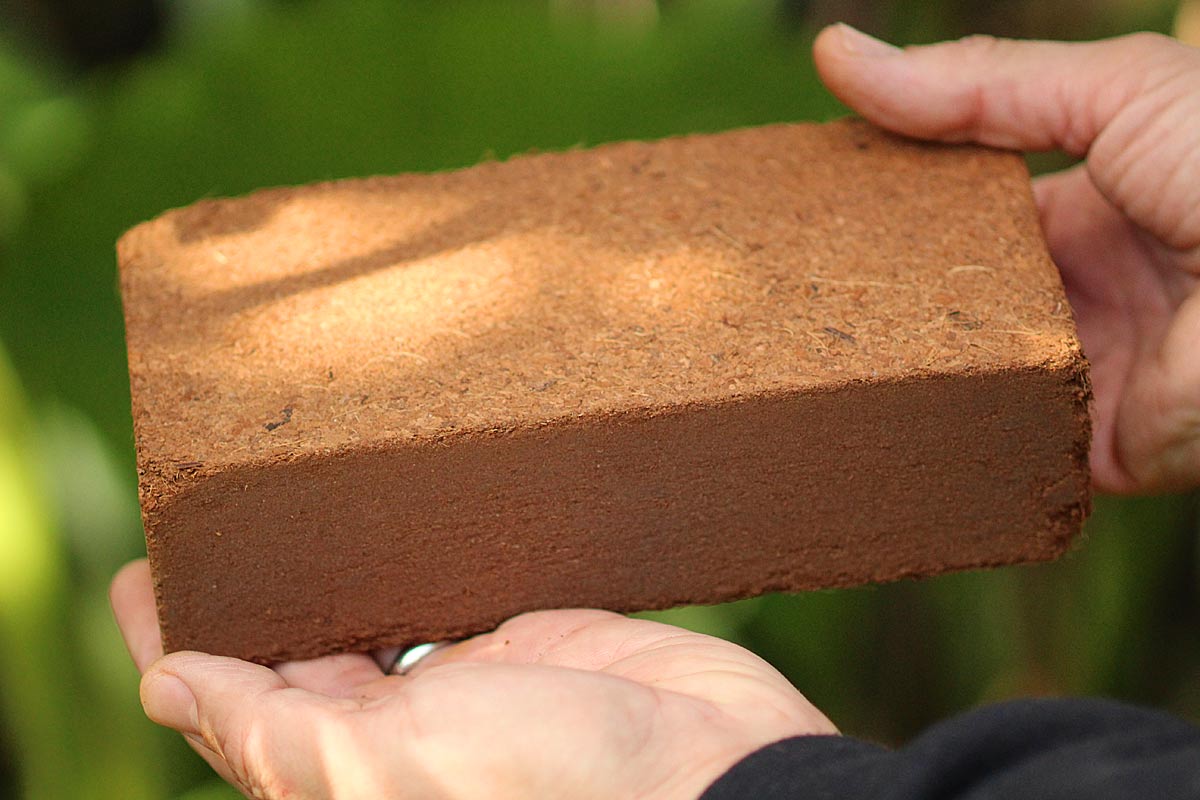
Coconut coir is an excellent bedding material for raising worms, especially when used in systems like the Worm Factory or other upward migration worm bins. During production, coconut coir is thoroughly rinsed and air-dried for over a year. It’s then compressed into dense blocks, wrapped in plastic, and shipped to retailers.
Widely used in the horticultural industry, coconut coir is prized for its superior water retention, excellent aeration, and efficient drainage—making it an ideal medium for worm bedding. However, before adding coconut coir to your worm bin, it must be properly moistened.
Although soaking a coir block in a bucket of water may seem quick and easy, it often causes the material to break apart unevenly, making it messy and difficult to handle. Save time and effort by following this step-by-step method to moisten a block of coconut coir efficiently and neatly.
What You’ll Need:
1 coconut coir brick
Measuring cup (1-pint capacity recommended)
Shallow plastic tray or pan
Note: Avoid using a bowl, as its curved bottom prevents even water distribution and absorption. A flat-bottomed container works best.
Step-by-Step Instructions
Step 1: Prepare Your Materials
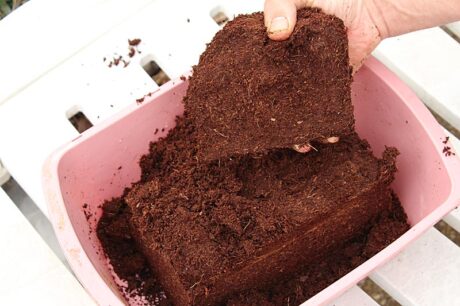
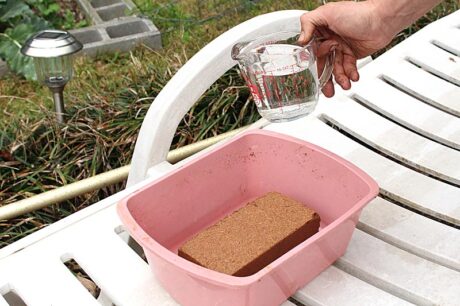 Place the plastic tray on a flat surface and lay the coir brick inside. Fill your measuring cup with water—be sure to keep track of how much you’re using.
Step 2: First Soak
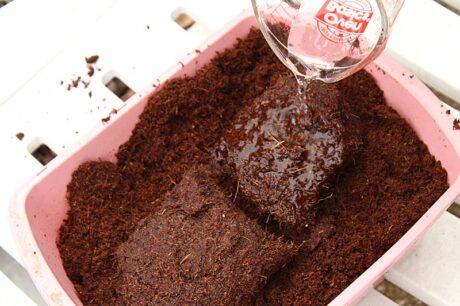
 Pour 5 cups of water into the tray—but do not pour directly on top of the coir brick. Instead, add the water to the bottom of the pan so the brick absorbs moisture from below, just like a wick.
Step 3: Allow to Absorb
 Let the brick fully absorb the water. Wait until there is no standing water left in the tray before continuing.
Step 4: Flip the Brick
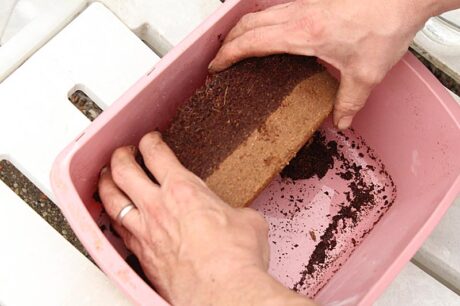 Carefully turn the coir brick over 180 degrees so the dry side is now facing down. Be gentle to prevent the brick from falling apart. It’s okay if a few flakes come off, but try to keep the main block intact.
Step 5: Second Soak
 Add another 5 cups of water to the pan. Again, pour the water into the tray—not directly on the brick. Let it soak in completely.
Step 6: Absorb Again
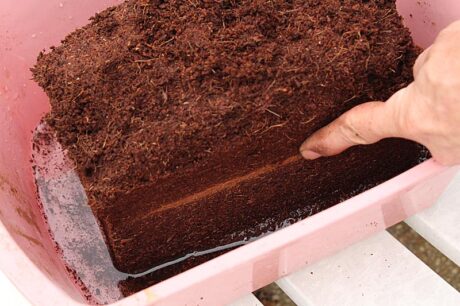 Wait until all water is absorbed. You may notice a dry line in the center of the brick—that’s normal.
Step 7: Remove Loose Coir
 At this point, the outer parts of the brick will be moist and easy to separate. Gently pull apart the loose, hydrated coir and place it into a separate container or use it immediately in your worm bin.
Step 8: Hydrate the Center Chunk

 If a dry chunk remains in the middle, break it in half. Add 1.5 cups of water directly to this piece and let it absorb for a few minutes. Once moistened, break apart the center chunk and mix it with the rest.
Step 9: Ready to Use!
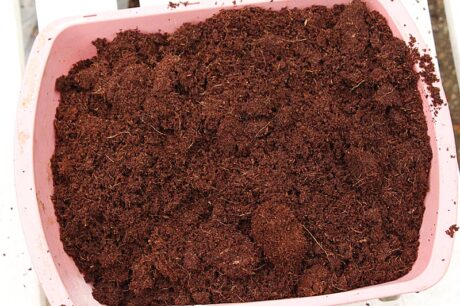 You’ve successfully moistened a block of coconut coir. It’s now ready to be used as bedding in your worm bin, for seed starting, or as a soil amendment in your garden.
Pro Tip: Always store any leftover coir in a sealed container to maintain its moisture and prevent contamination.