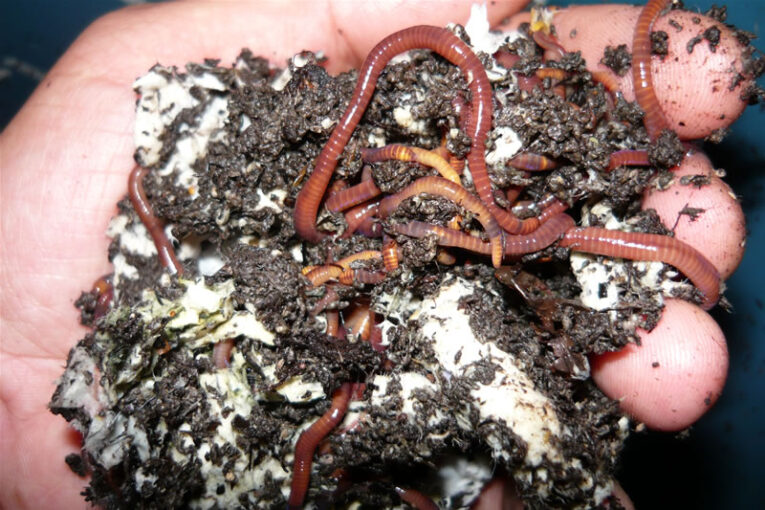
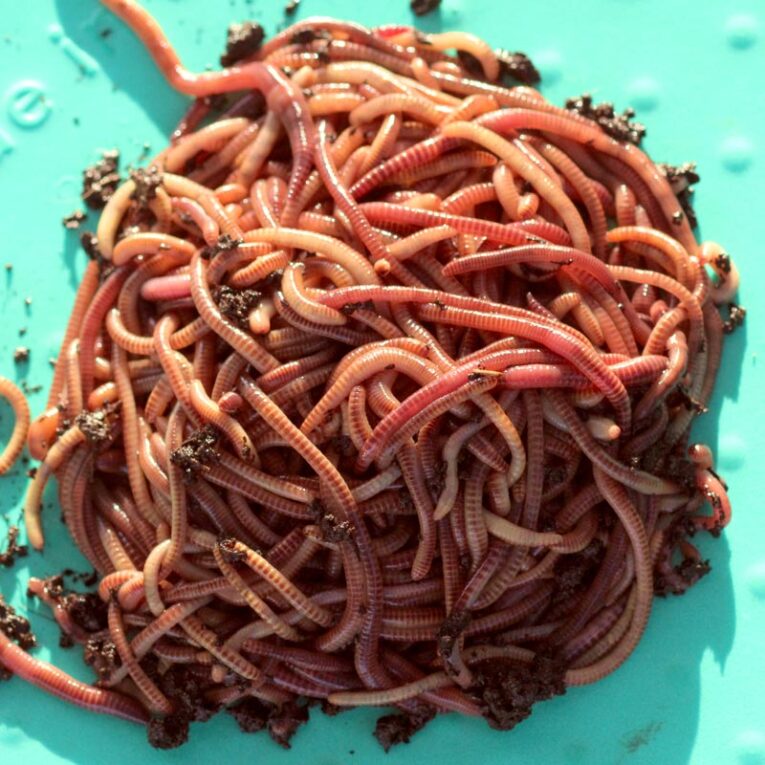
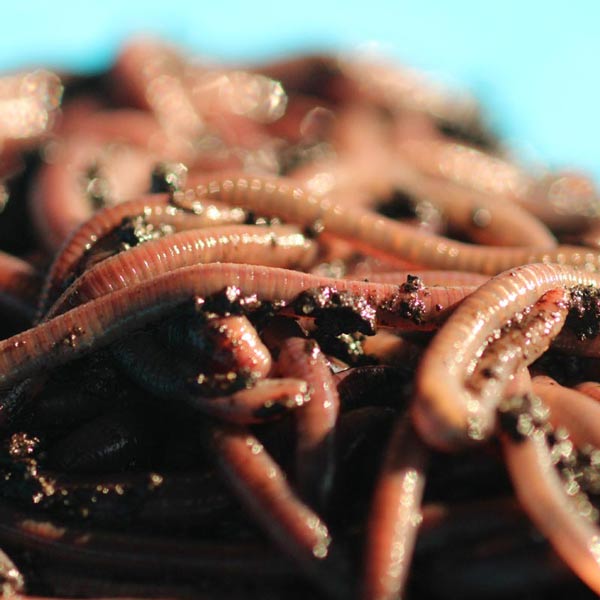
Discover how many worms you need to start your worm bin, based on your composting goals, bin size, and waste output. Start your worm farm with confidence!
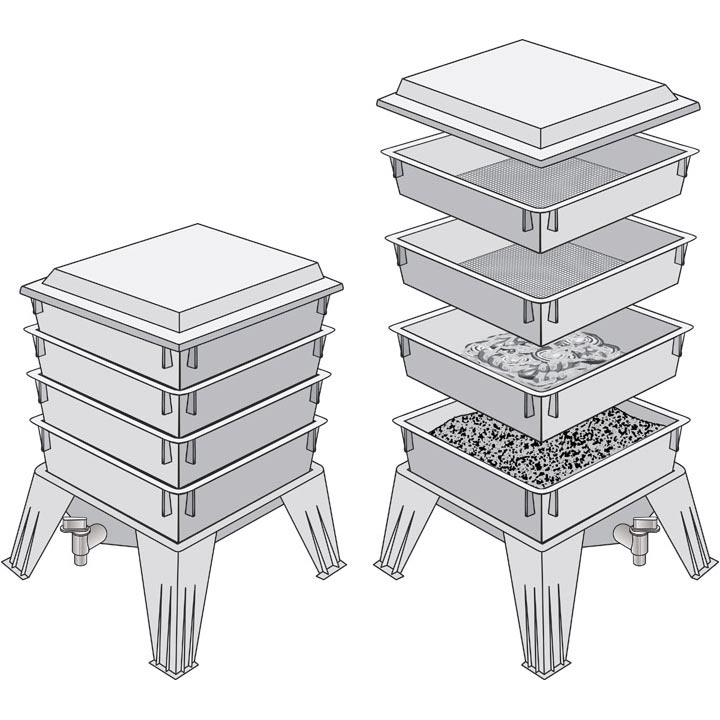
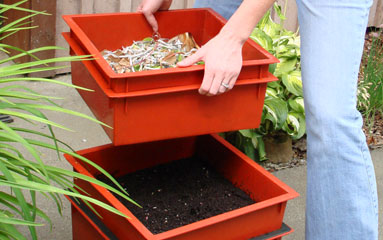
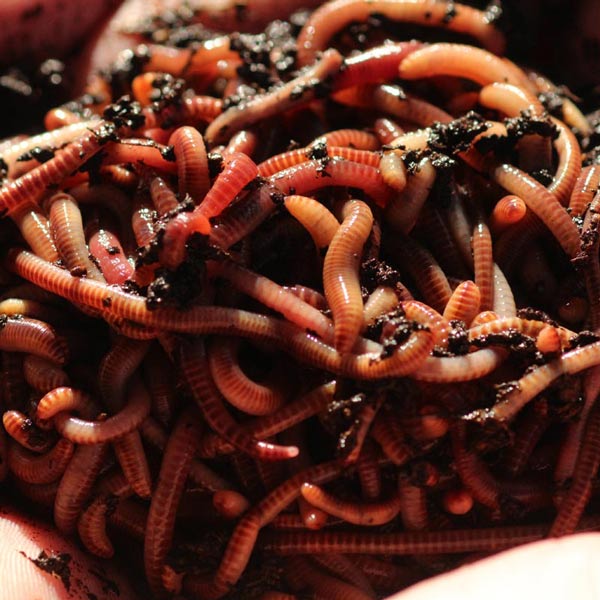
Not sure which worm habitat is right for your composting goals? This guide breaks down the best worm bin options for indoor and outdoor use, helping you choose the ideal setup for Red Wigglers, European Nightcrawlers, or African Nightcrawlers. Learn what size, material, and location will give your worms the best chance to thrive.
Discover the best location for your worm habitat—indoors or outdoors. Learn how temperature, space, and climate affect worm health and composting success.
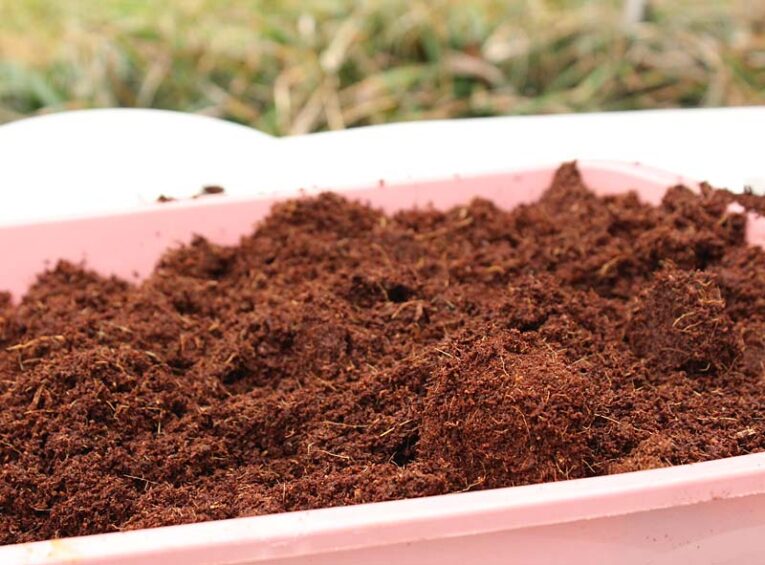
Learn what worm bedding is, why it’s essential for healthy worms, and how to choose the best materials to create a safe, moist, and nutrient-rich worm habitat.
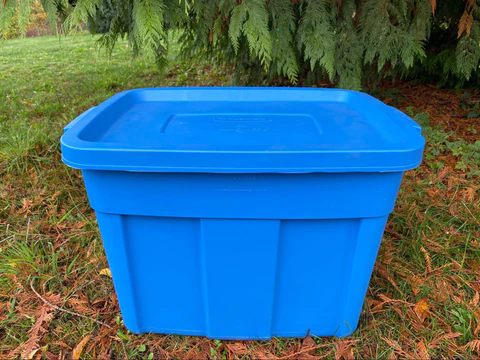
Learn how to build a DIY worm bin using household items! This step-by-step beginner’s guide makes starting vermicomposting easy, affordable, and eco-friendly.